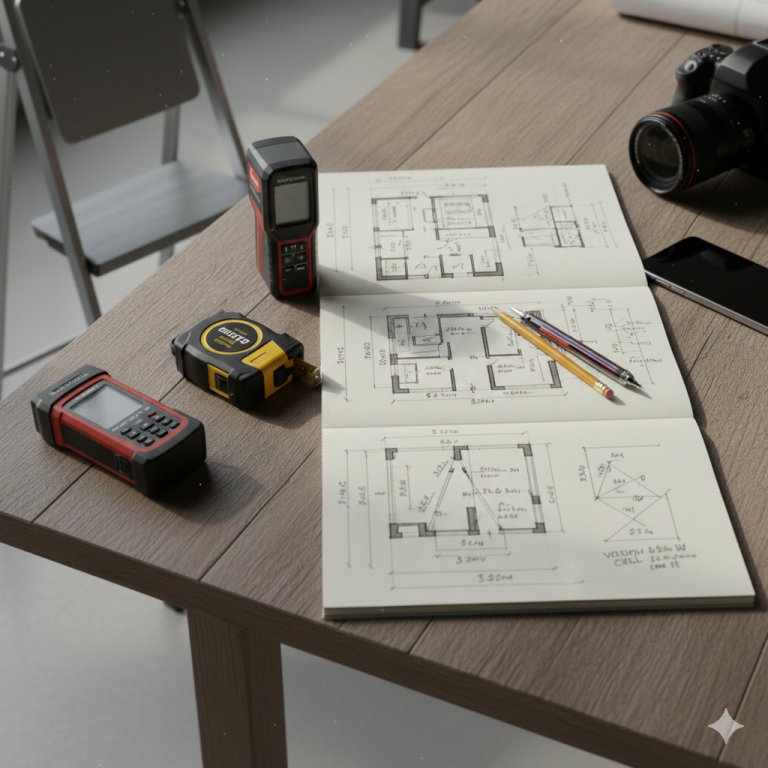
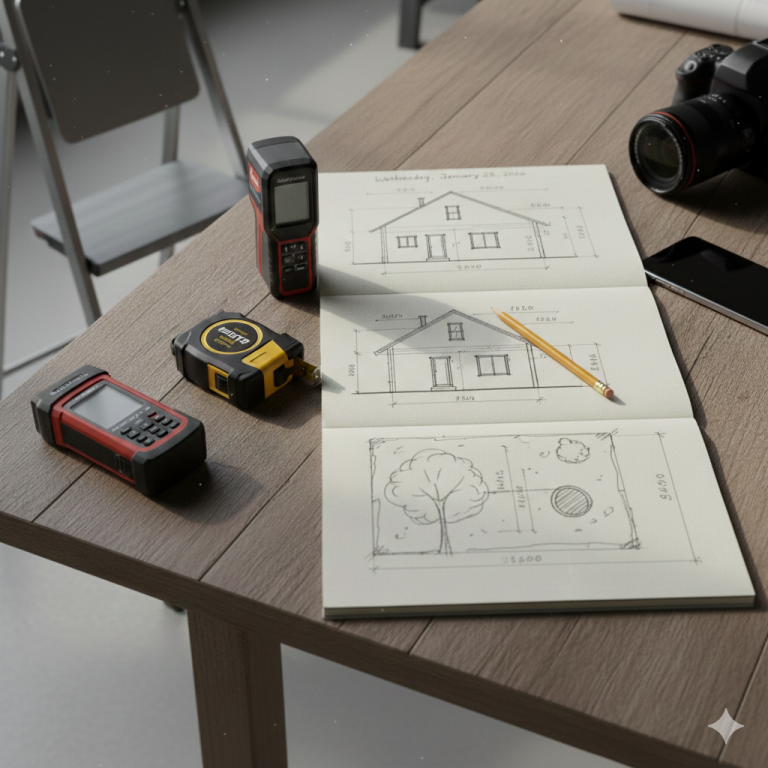
measured survey
Architectural survey of your own home
A precise record of the building’s current dimensions and features.
This data serves as the foundation for existing drawings (plans, elevations, and sections) used in PERMITTED DEVELOPMENT applications TO YOUR LOCAL PLANNING AUTHORITY.
Preparation and Tools
Gather essential equipment to ensure accuracy:
- Measuring Tools: A laser distance meter is recommended for speed and accuracy over long distances, but a 25ft (7.5m) steel tape measure is essential for small details.
- Recording Materials: A notepad, pencil, eraser, and a multi-colored pen (using different colors for general layouts vs. heights) help keep your notes organized.
- Support: A step ladder for ceiling heights and a camera/smartphone for extensive photographic documentation.
The Measured Survey Process
Follow these sequential steps to map your home:
- Sketch the Layout: Create a rough, freehand drawing of each floor. Use separate sheets for different levels. Do not worry about scale yet; focus on including all walls, doors, and windows.
- Measure Wall-to-Wall: Start in one corner of a room and work clockwise. Measure the full length of each wall at a consistent height (usually around 1m or chest height).
- Locate Openings: Measure from the nearest corner to the start of a window or door frame, then measure the width of the opening itself. Record the height of windowsills (“cill height”) and the top of the frame.
- Capture Heights: Measure from the floor to the finished ceiling. Note any changes in level, such as steps or sloped floors.
- Verify with Diagonals: To ensure rooms are square, take diagonal measurements from corner to corner. If your wall measurements don’t align with the diagonal “triangulation,” you may have a measurement error.
Surveying External Features
- Exterior Perimeter: Measure the outside of the building to account for wall thickness. You can often calculate this by comparing internal measurements to external ones.
- Elevations: Sketch the exterior “face” of the house. Measure heights to the eaves (where the roof meets the wall) and, if possible, the ridge (highest point of the roof).
- Site Context: Note the position of boundaries (fences/walls), drainage points (manhole covers), and large trees that may impact future construction.
Documentation and Finalisation
- Photographs: Take “flat” photos of every wall and ceiling. These are vital for clarifying your sketches later when you are no longer in the room.
- Labeling: Clearly mark the use of each room (e.g., “Kitchen,” “Bedroom 1”) and the direction of door swings.
- Digital Translation: Use software like Live Home 3D or SmartDraw to convert your hand-drawn sketches into scaled digital plans (common scales are 1:50 or 1:100).
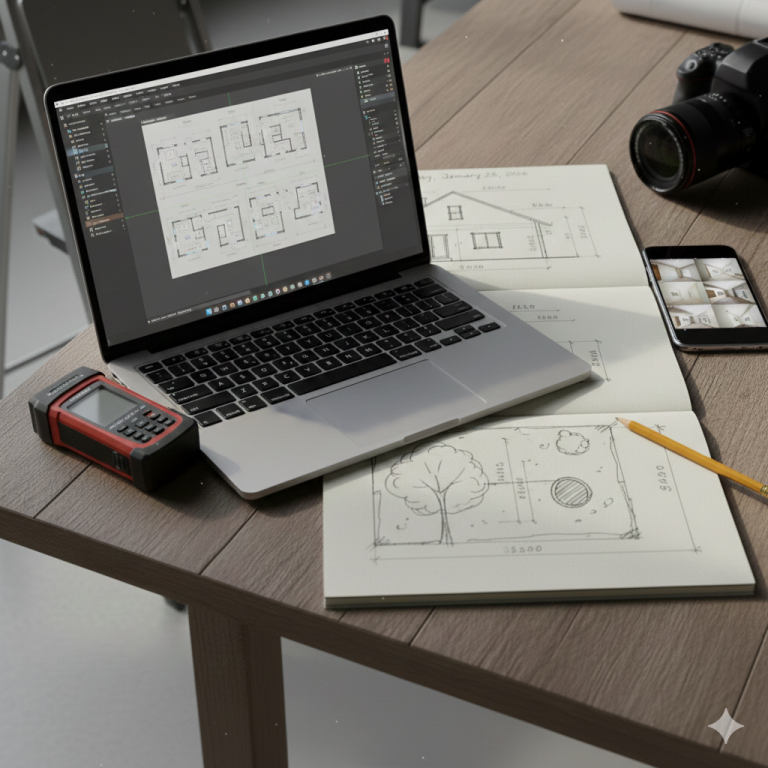
For complex projects or legal planning applications, consider consulting a Royal Institution of Chartered Surveyors (RICS) professional to ensure structural accuracy.